Desk Mounted Framework for MultiBoard
Build a stable, modular setup directly from your desk
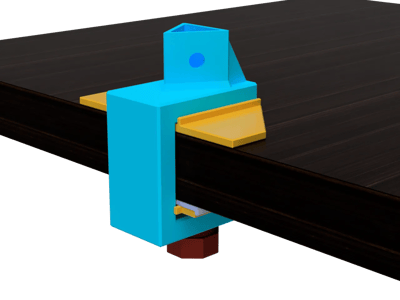
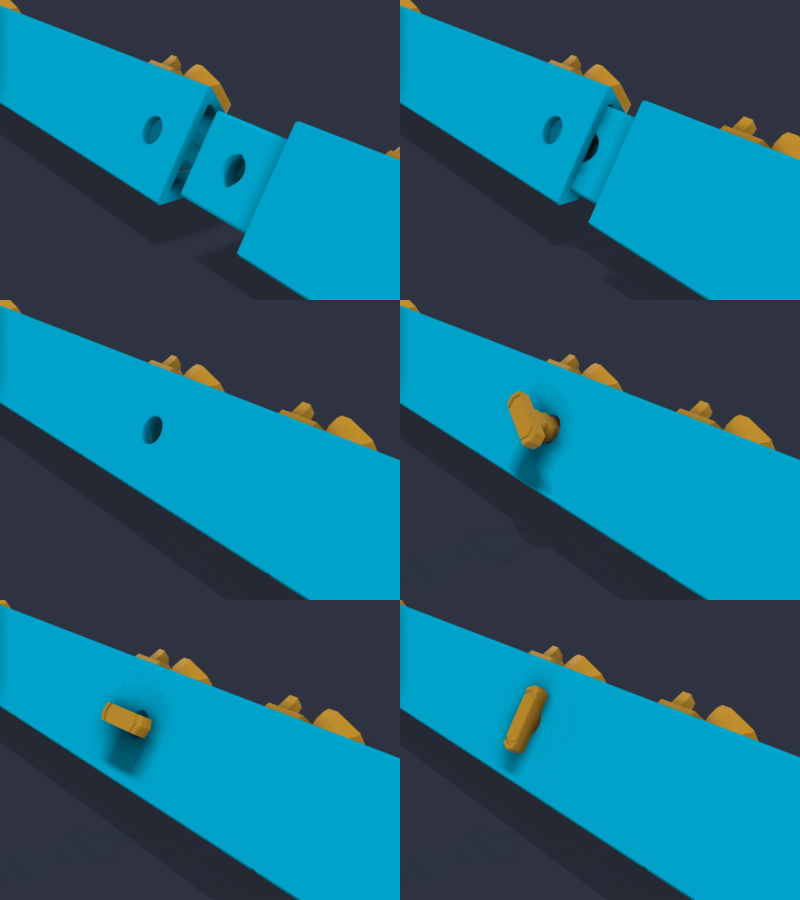
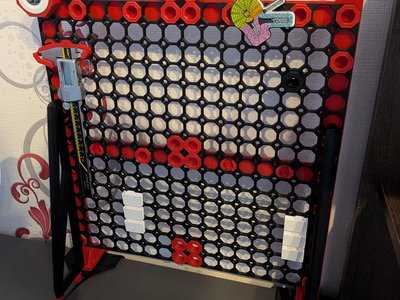
Choose the parts that fit your layout
Clamps
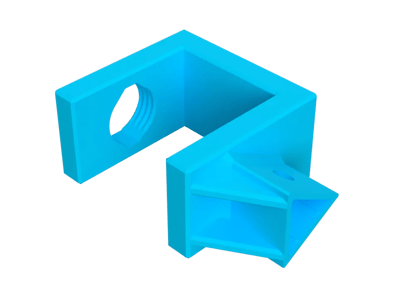
Select a clamp gap that matches your tabletop. Desk protector plates spread the clamping force, while an optional TPU pad can add grip beneath the desk.
Beams
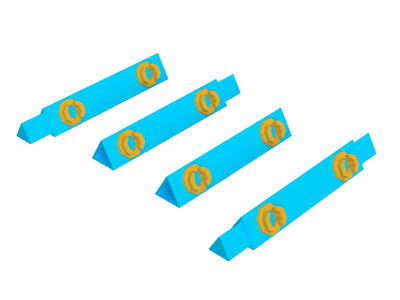
Regular and quad beam variants are available with male and female connector combinations. Their snap-based lengths make it easier to match a planned MultiBoard grid.
Corners
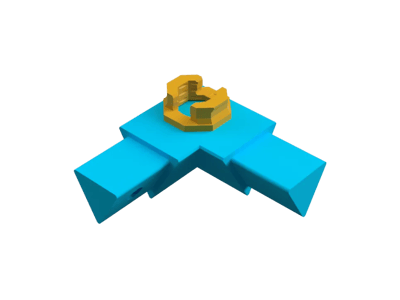
Two-way, three-way, and four-way corners connect the frame at its edges and intersections, with optional central snap variants for attaching MultiBoard tiles.
Plan first, then print only what you need
Before you print
Assembly bolts are separate MultiBoard parts and are not included with the DeskMatrix model files. Follow the official MultiBoard print recommendations and the DeskMatrix print profiles for strong, dimensionally accurate parts. Longer beams can exceed the build area of compact printers such as the A1 Mini, so verify model size before printing.
- 01
Set out the boards
Add MultiBoard tiles in the arrangement you want above or around your desk.
- 02
Build the frame
Place clamps, beams, and corners around the boards and connect them into a stable supporting structure.
- 03
Export the parts list
Review the calculated DeskMatrix parts, MultiBoard pieces, bolts, and additional hardware, then download the list.
- 04
Test and print
Print the connector fit test before committing to the full build, then download the required model plates from MakerWorld.